Vector Annotation Tools
Updated at September 28th, 2023
Vector Annotation Tools
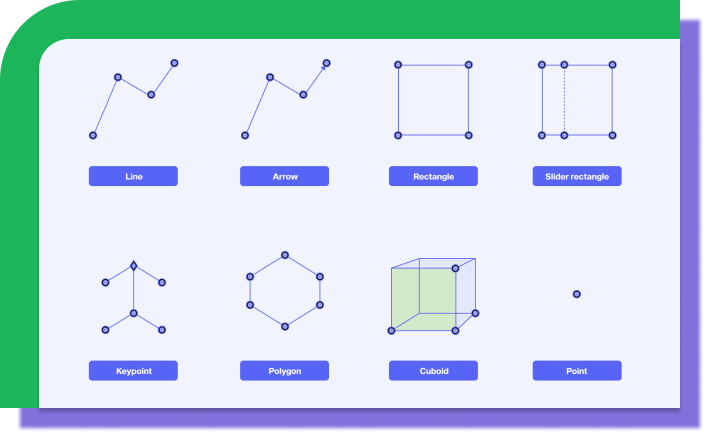
Examples are shown below of what each type of vector tool looks like in the workspace, as well as how the results of that tool are structured in JSON export files.
Point
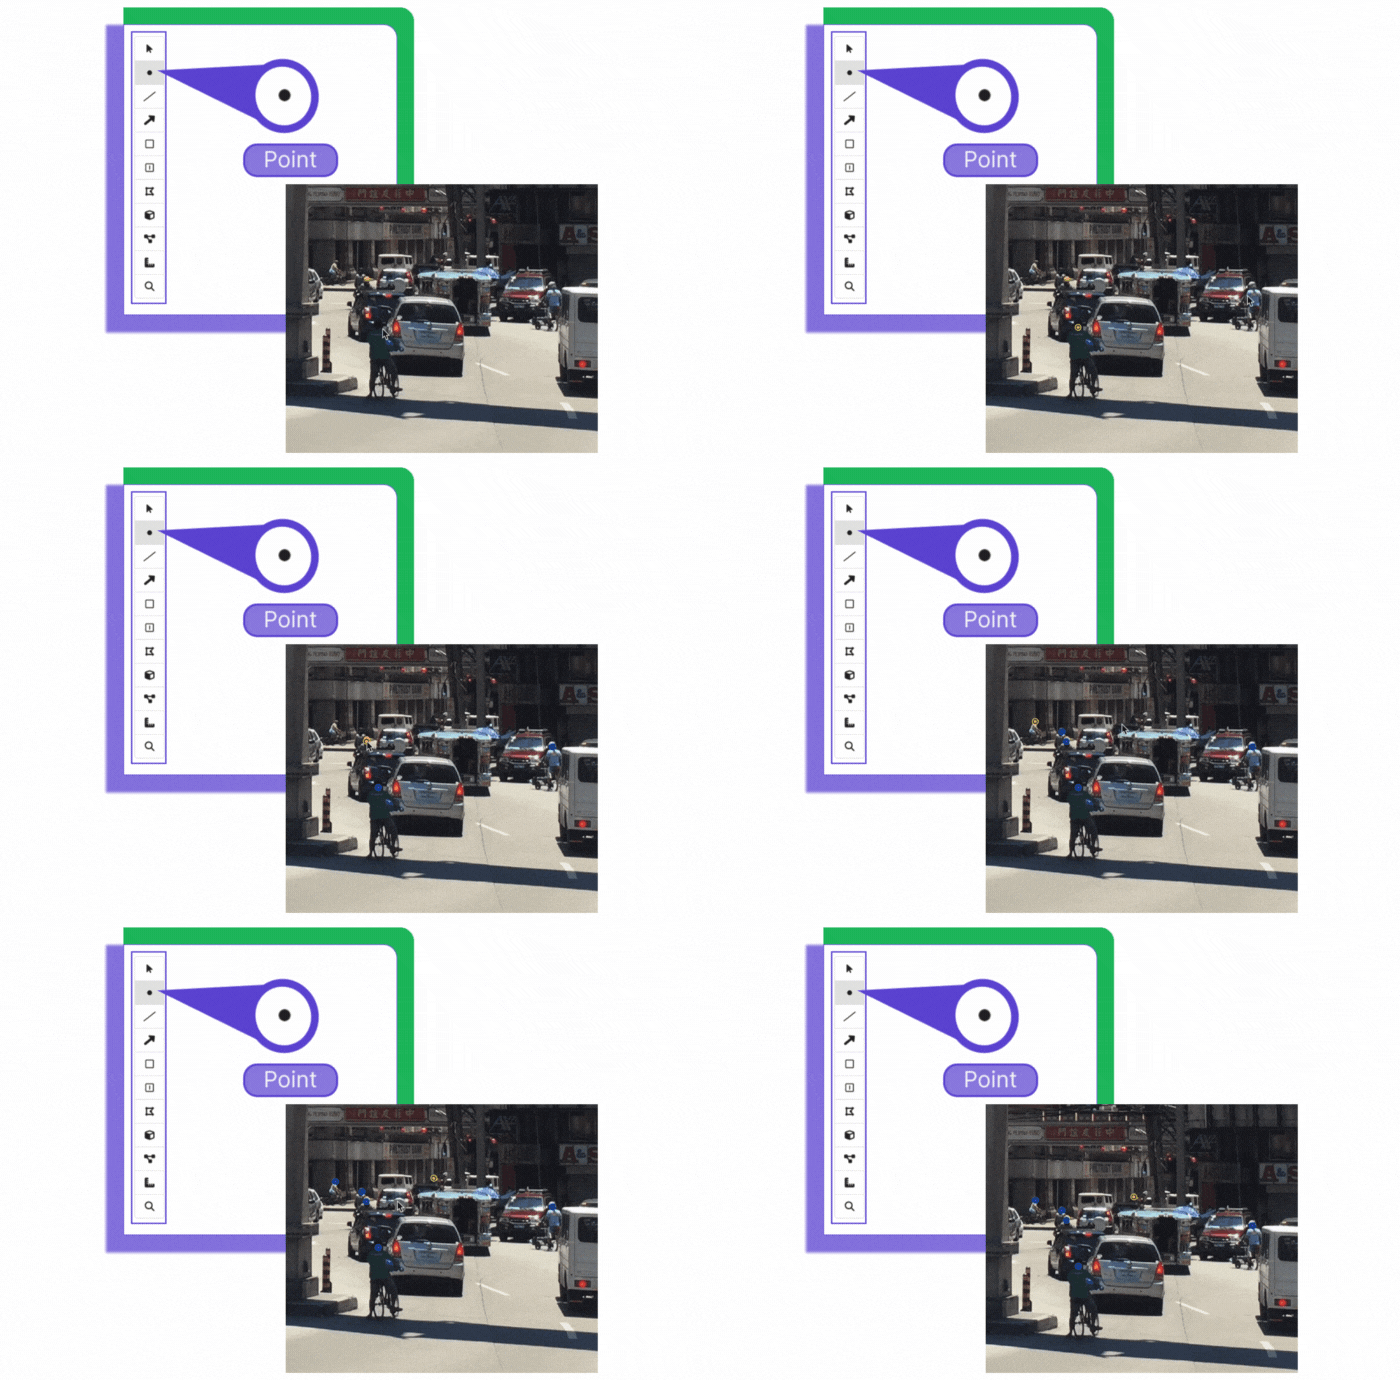
The Point tool allows you to annotate objects with a single click.
Line
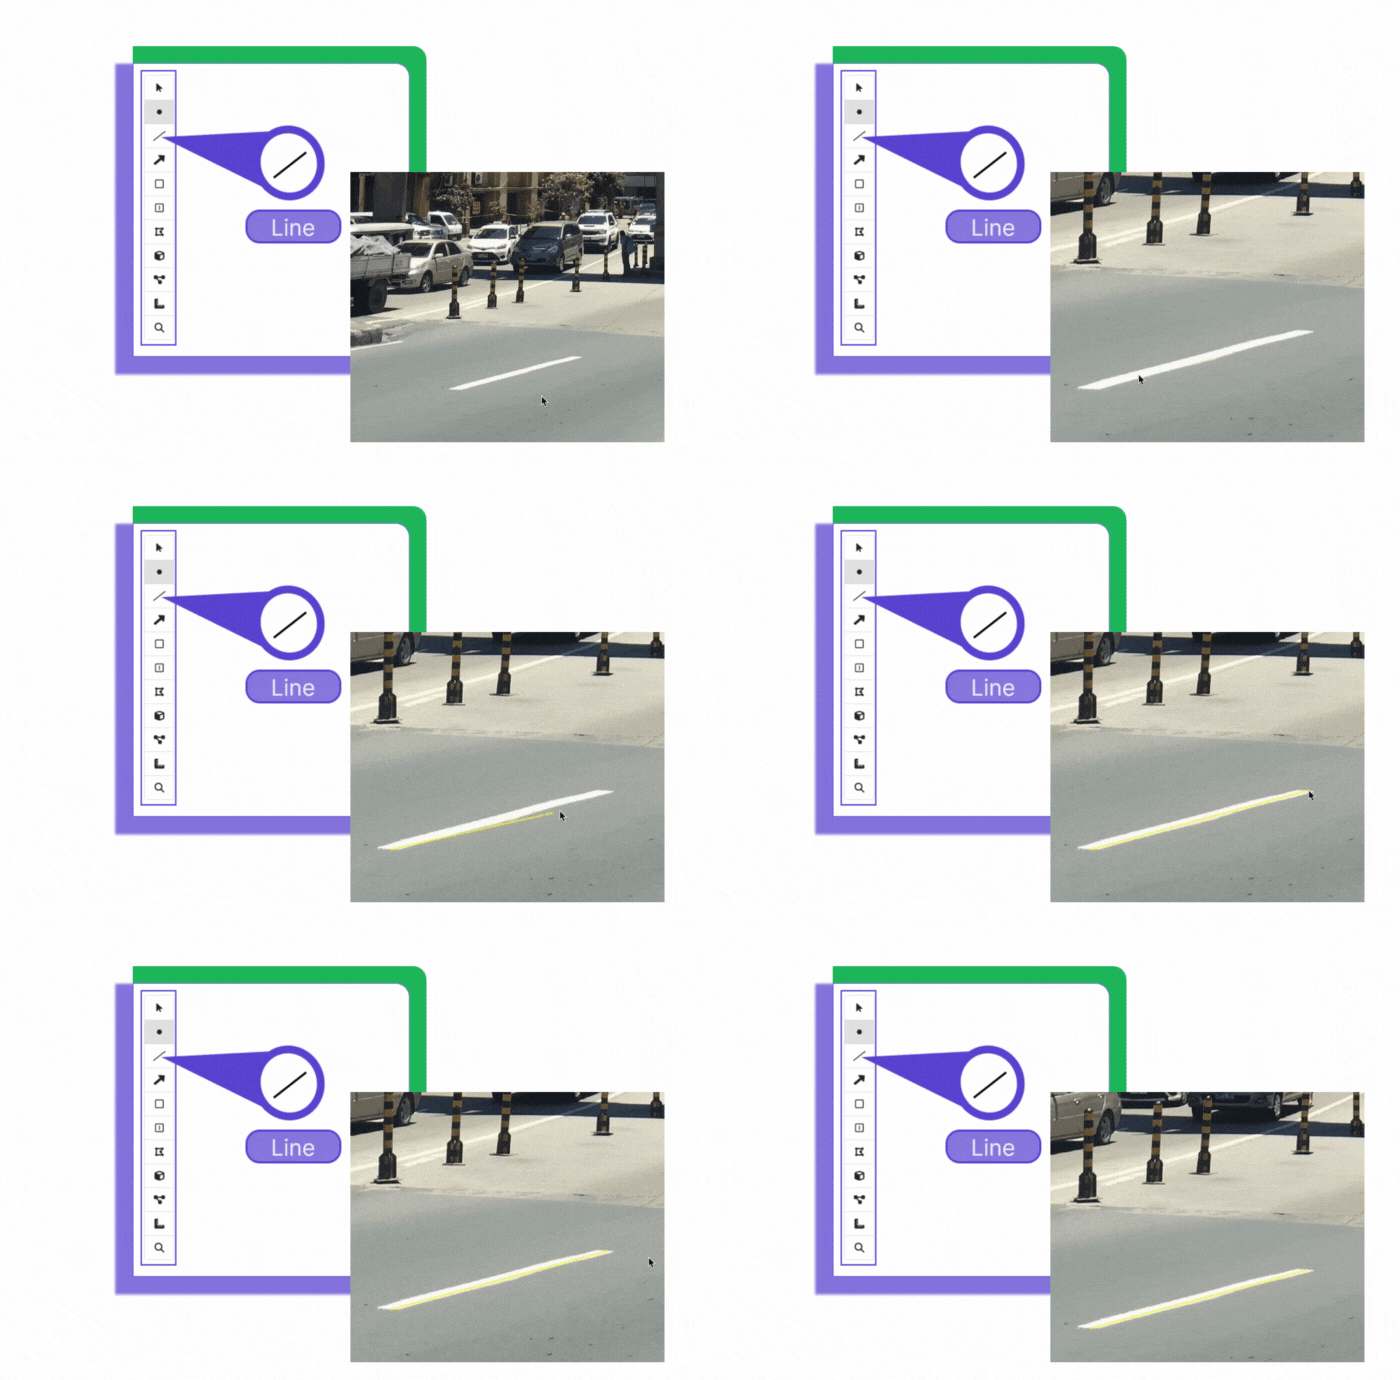
The Line tool is used to place polylines that contain any number of points. This tool can be used to annotate straight or curved lines.
To draw a line:
- Click to place the starting point of the line.
- Click to place additional points if desired.
- Double-click to stop drawing the line.
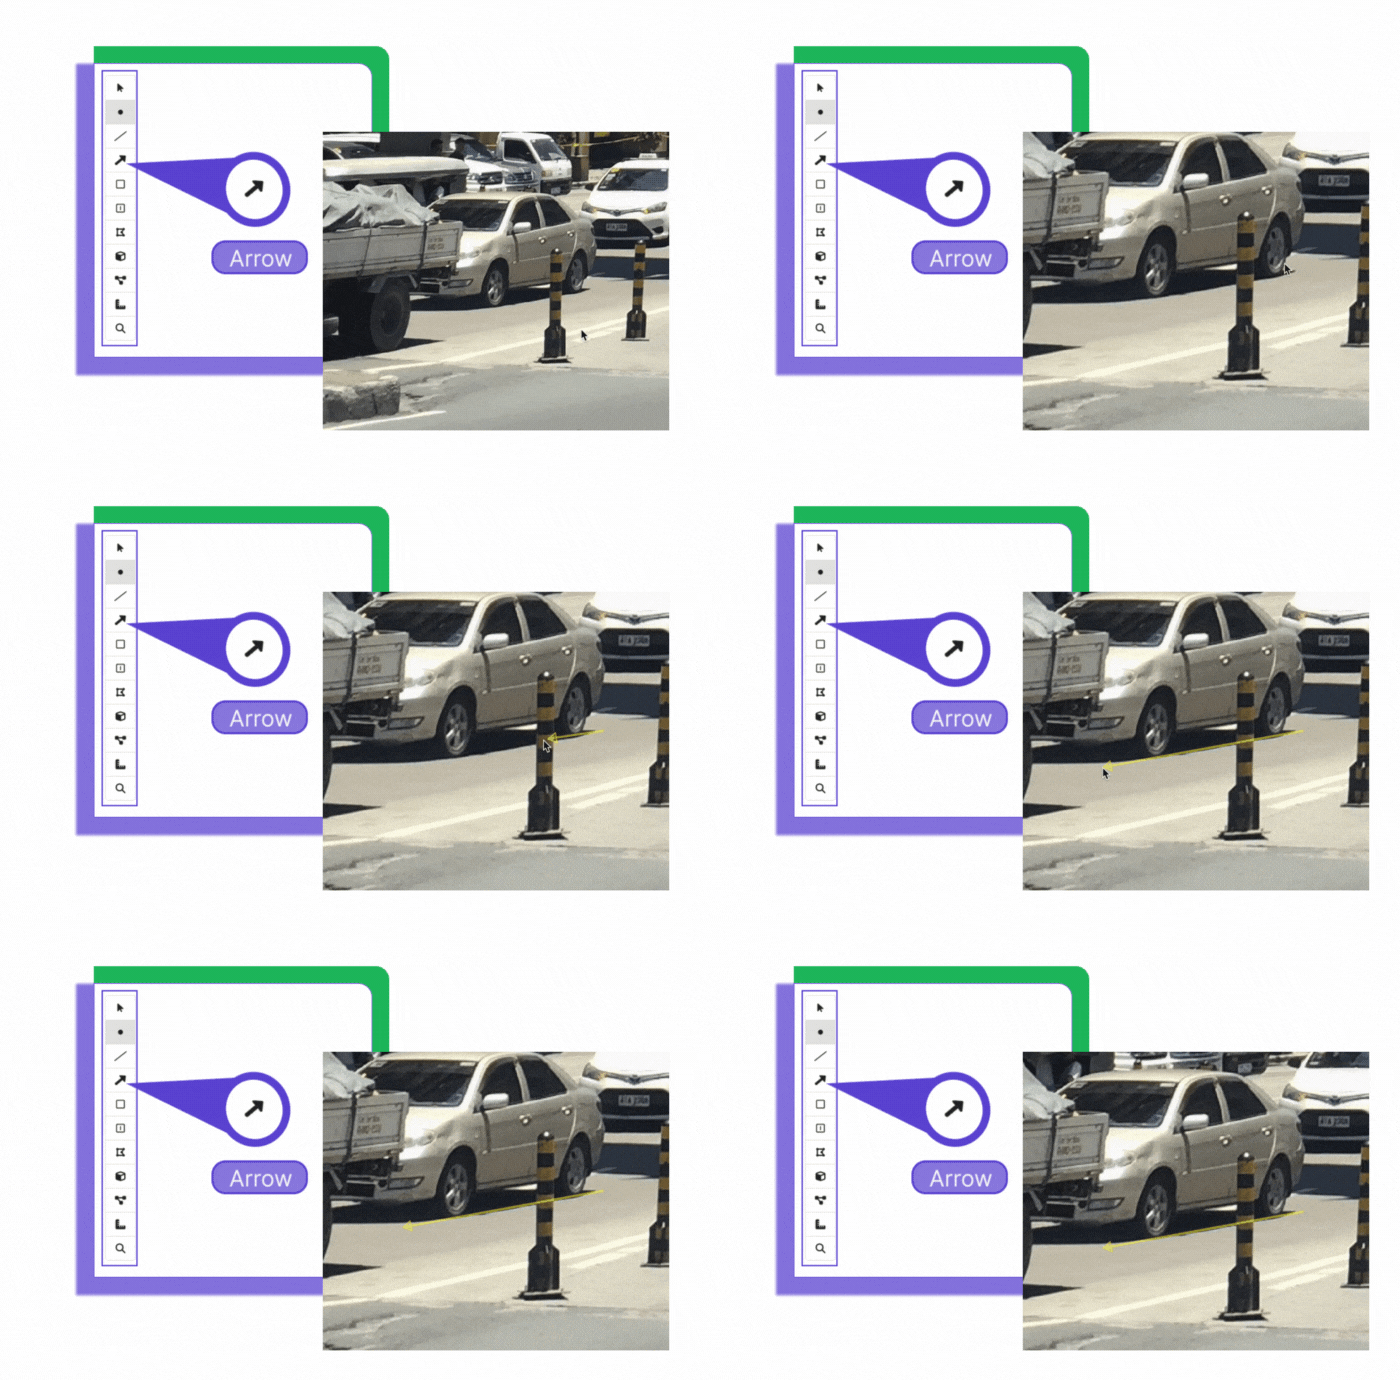
Arrow
The Arrow tool can be used to indicate a direction on an image. For example, an arrow could be used to show what direction a car is going in a 2D image, in which the car has been outlined with a rectangle.
To draw an arrow:
- Click to place the starting point of the arrow (the side without the arrowhead).
- Click to place additional points if desired.
- Double-click to stop drawing the arrow.
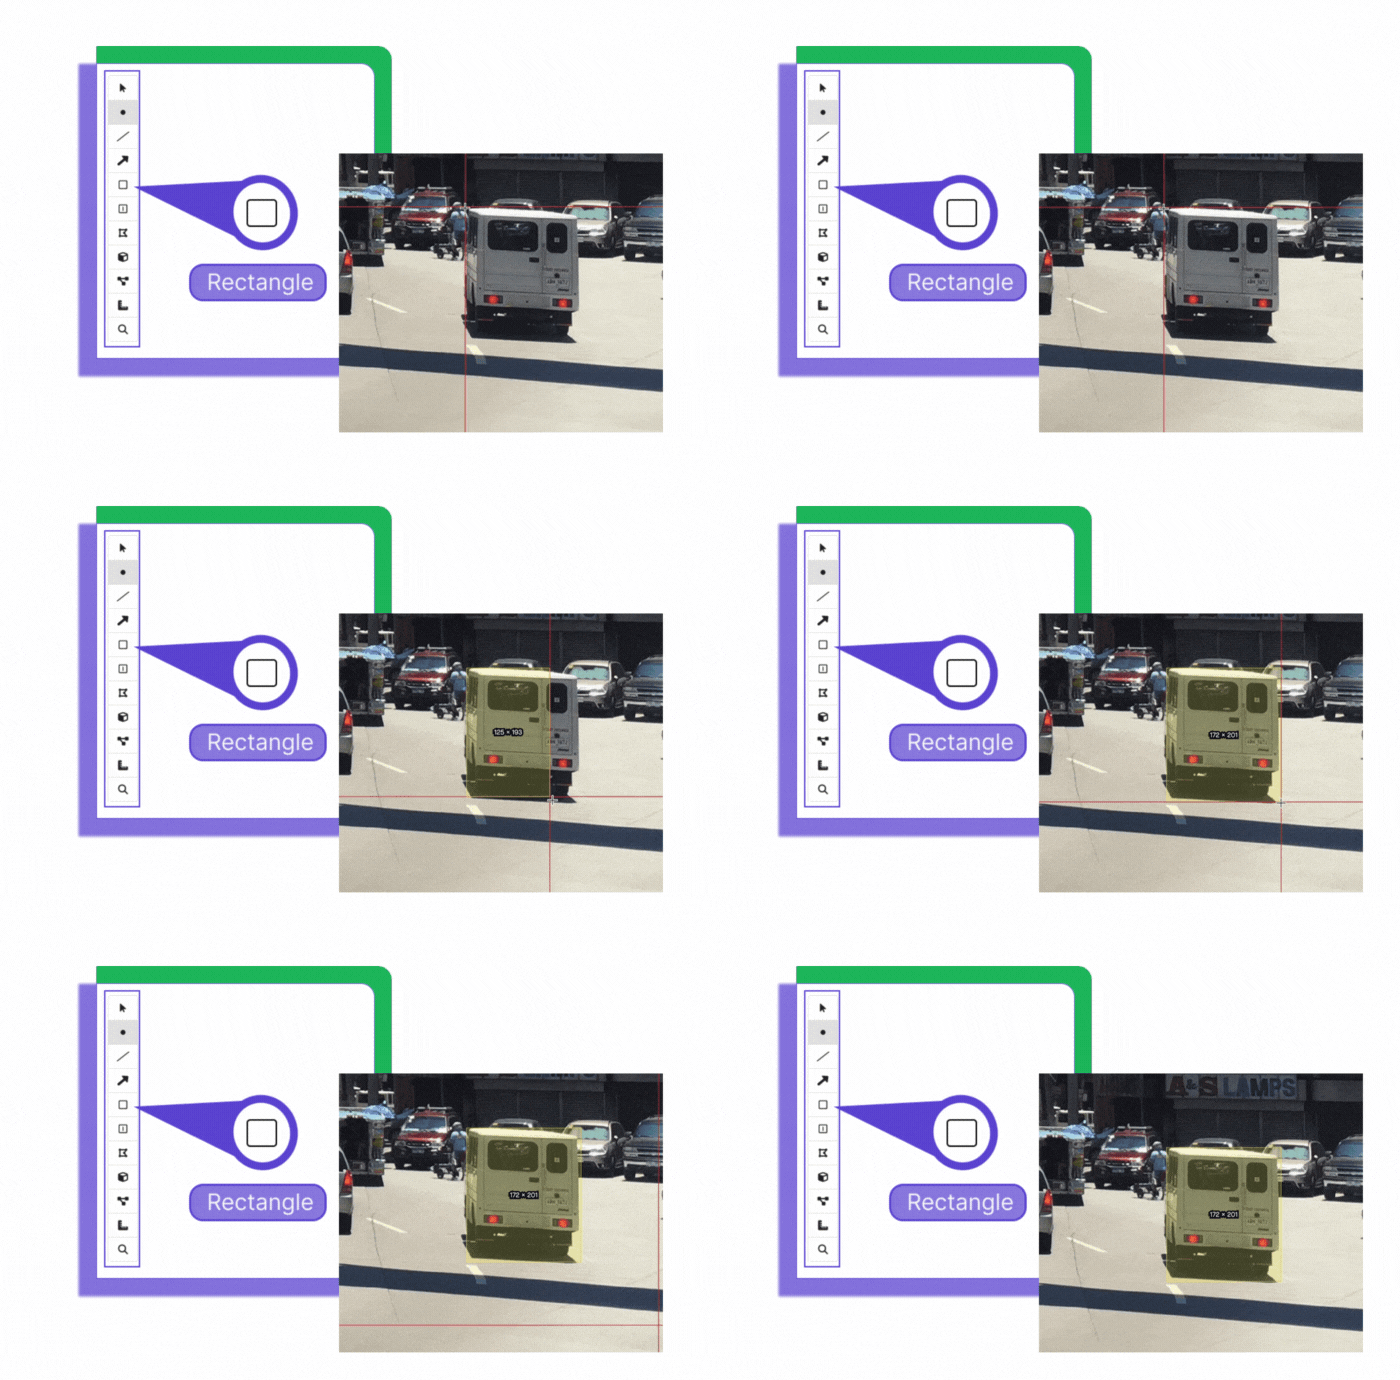
Rectangle
The Rectangle tool is a quick and easy way to annotate shapes, but doesn't capture any 3D information.
To draw a rectangle:
- Click on the corner of a shape.
- Drag your mouse to the opposite corner of the shape.
- Click to place the rectangle.
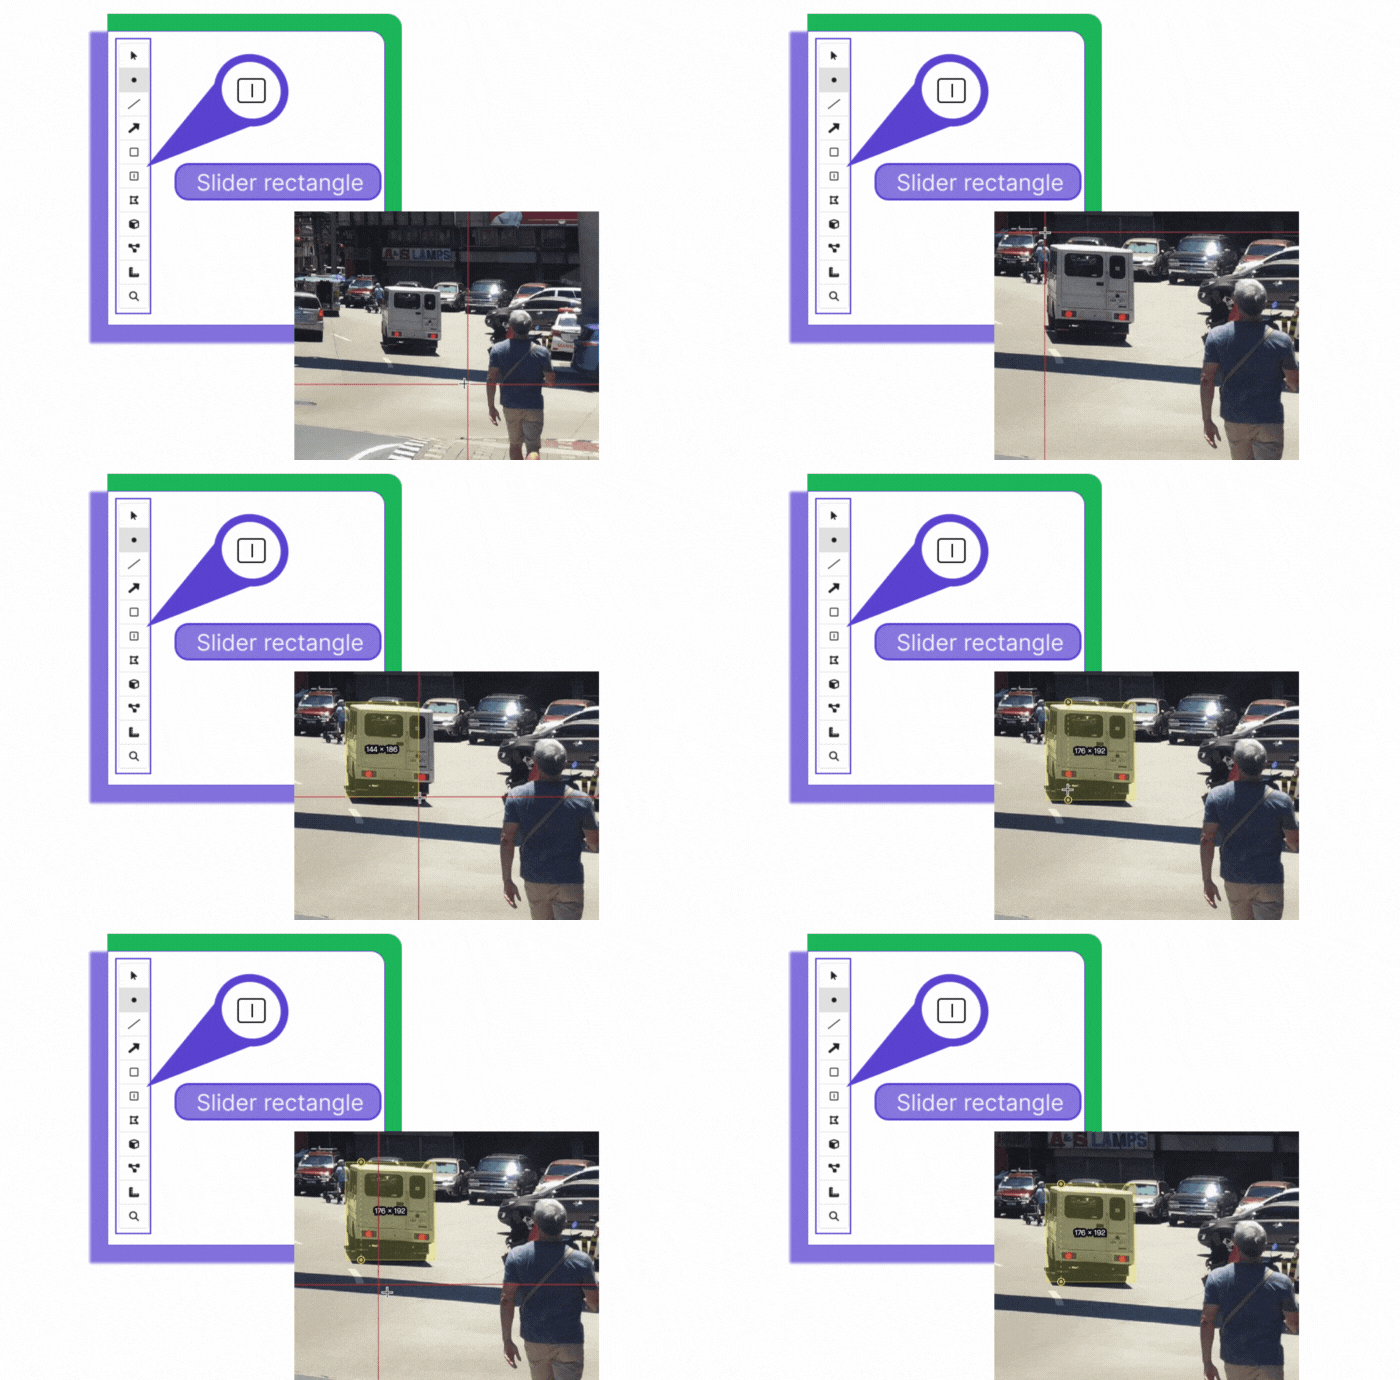
Slider rectangle
The Slider Rectangle tool is slightly more complex than the Rectangle tool, since you also need to drop a dotted line that indicates where the corner of a 3D object is located. Slider rectangles capture a little 3D information — not as much as cuboids, but more than rectangles.
To draw a slider rectangle:
- Click on the corner of a shape.
- Drag your mouse to the opposite corner of the shape.
- Click to place the rectangle.
- Move your mouse to the corner of the 3D shape and click to place the dotted line.
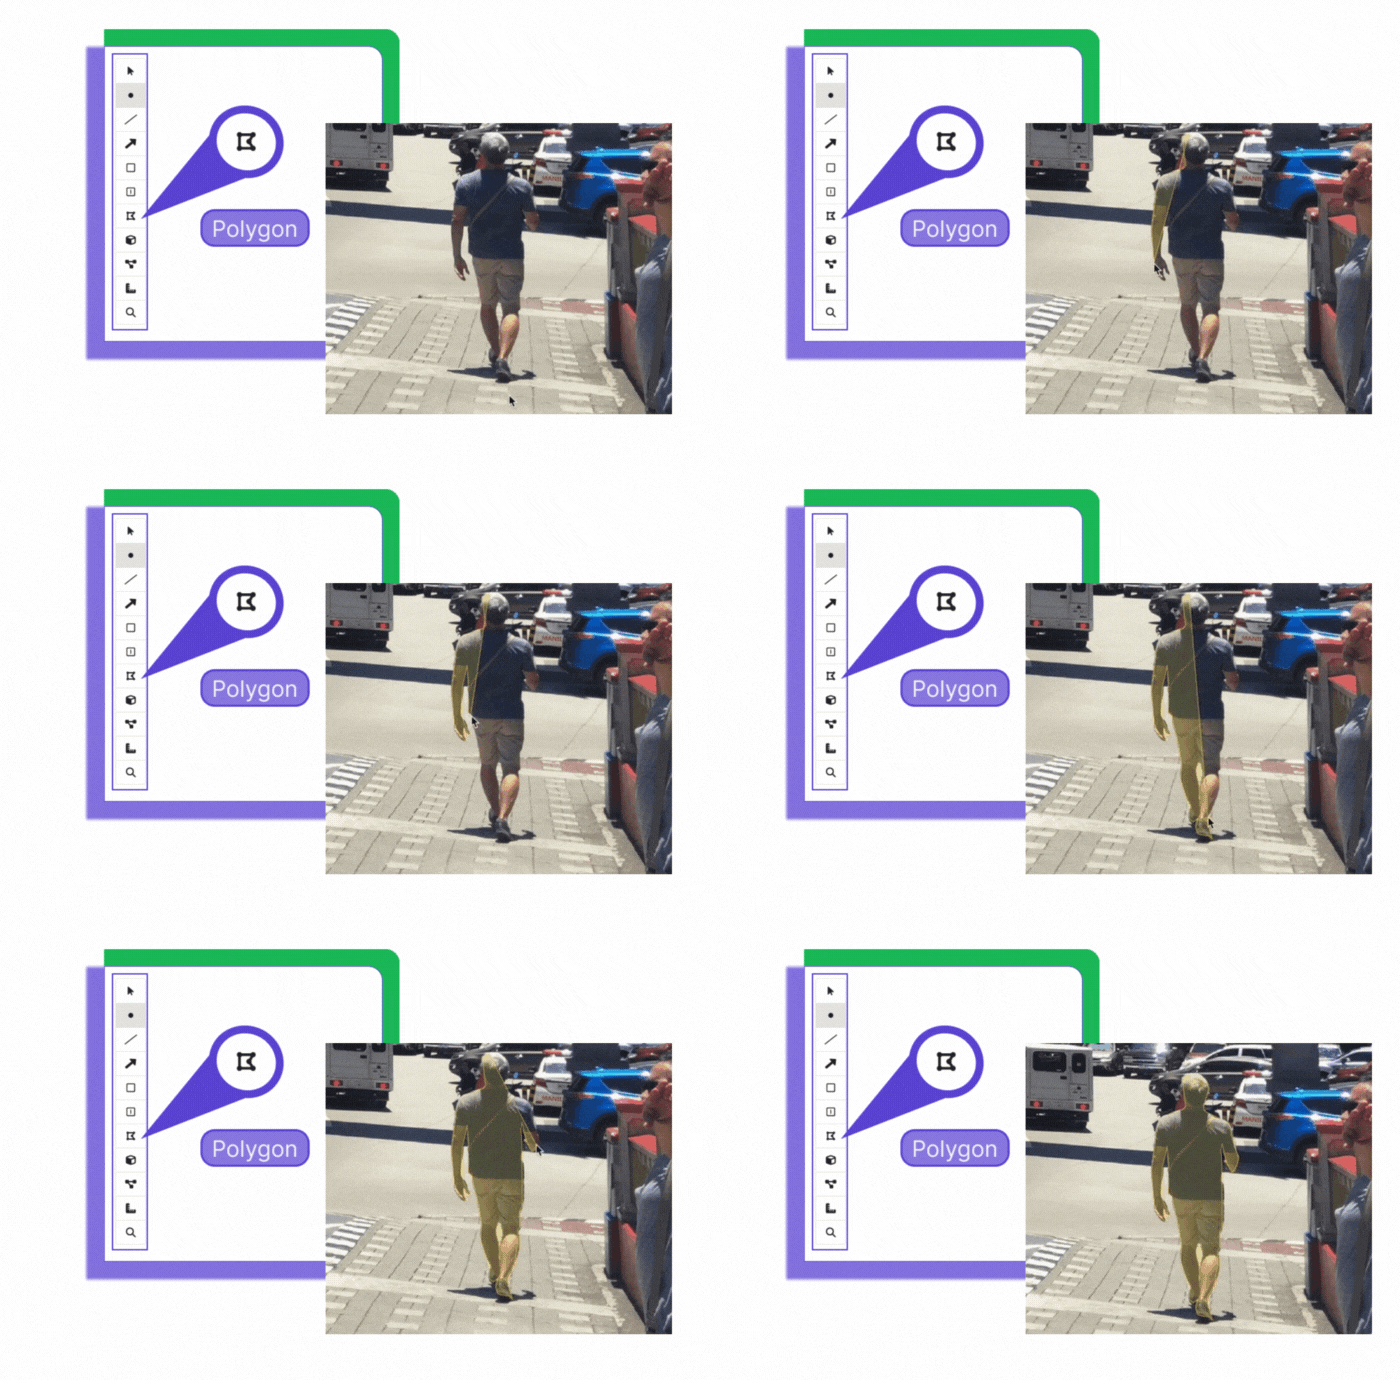
Polygon
The Polygon tool is used to outline the edges of an object for accurate detection precisely.
To draw a polygon:
- Click to place the first point on the edge of the shape.
- Click to place as many additional points as needed to outline the shape.
- Double-click to stop placing points and finish the polygon.
👍Tip
If you need to adjust some of your points, you can easily add, remove, or move points using the Edit tool.
Cuboid
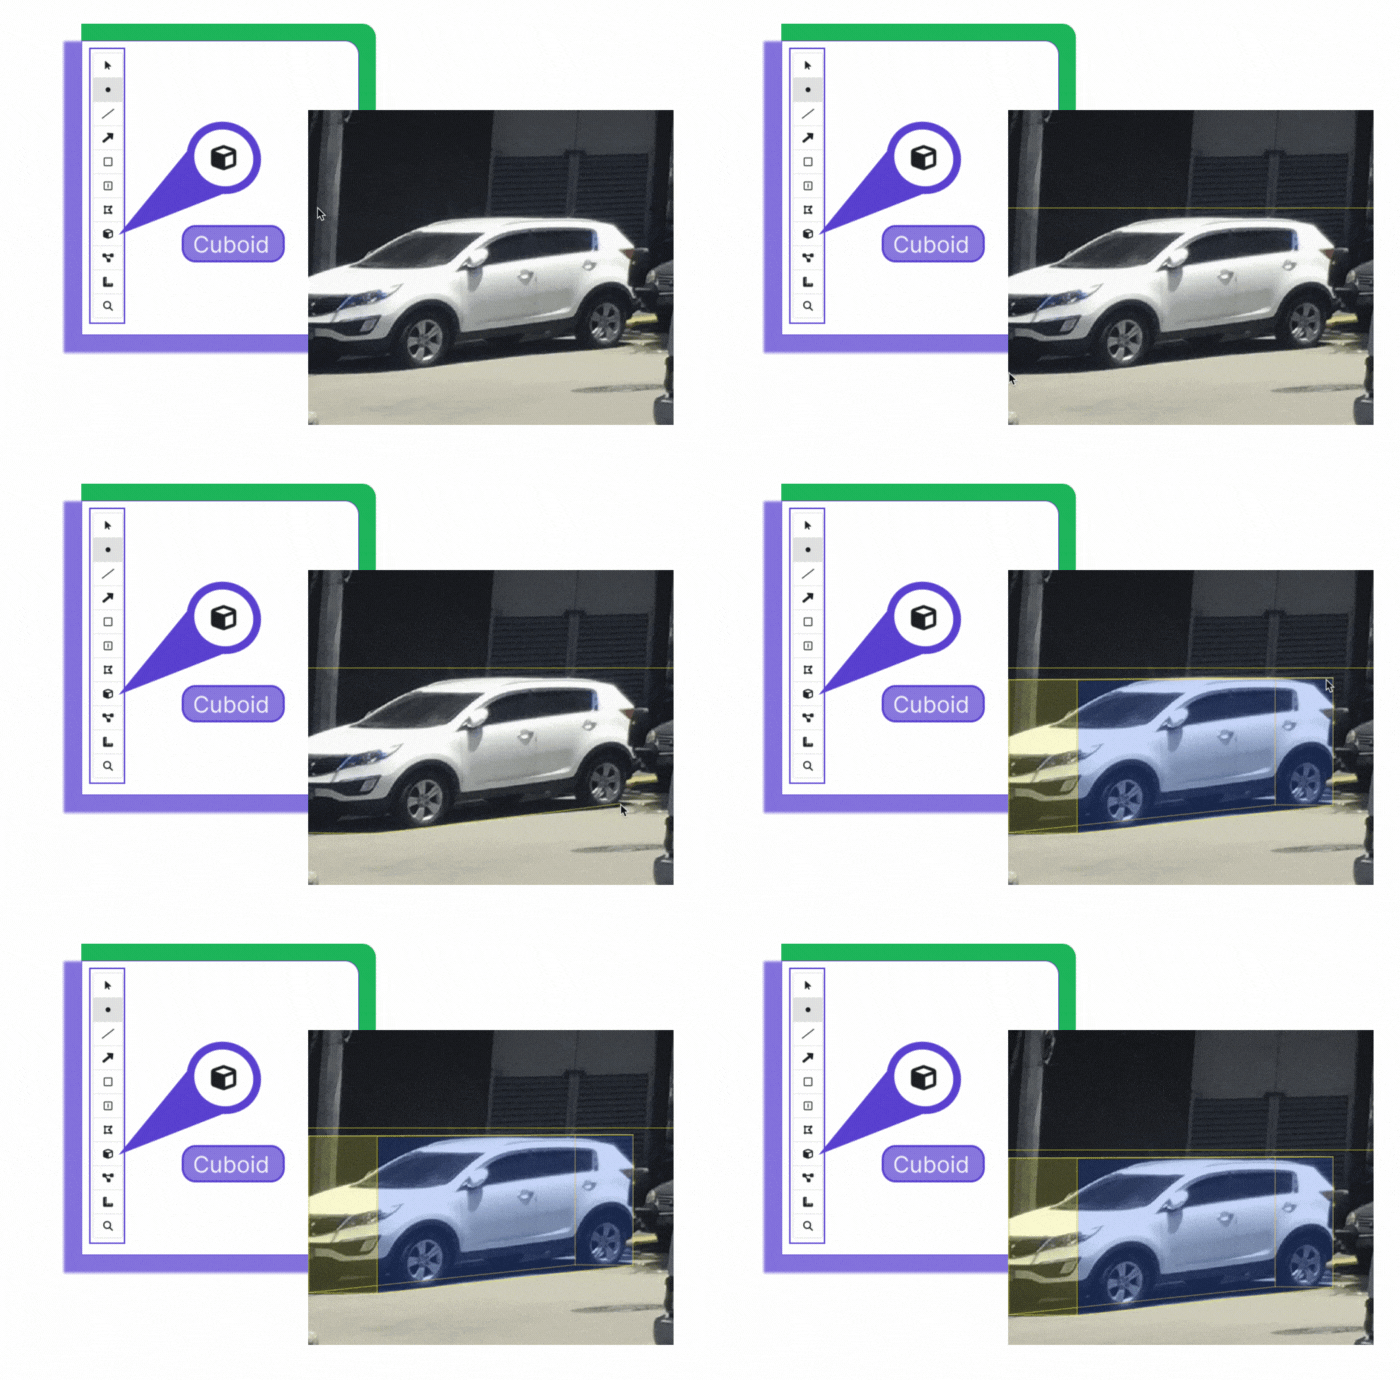
The Cuboid tool is used to detect the depth and height of 3D objects in a 2D plane using perspective mathematics. Cuboids have a face of interest, a side, and a top. They can be finicky to get right, but they capture more 3D information than a slider rectangle or rectangle.
To draw a cuboid:
- Click on the horizon to drop the horizon line.
- Starting on the face of interest, outline the three visible corners of the object to be surrounded by the cuboid.
- Move your mouse upward to the top of the object and then click to stop drawing.
Keypoint
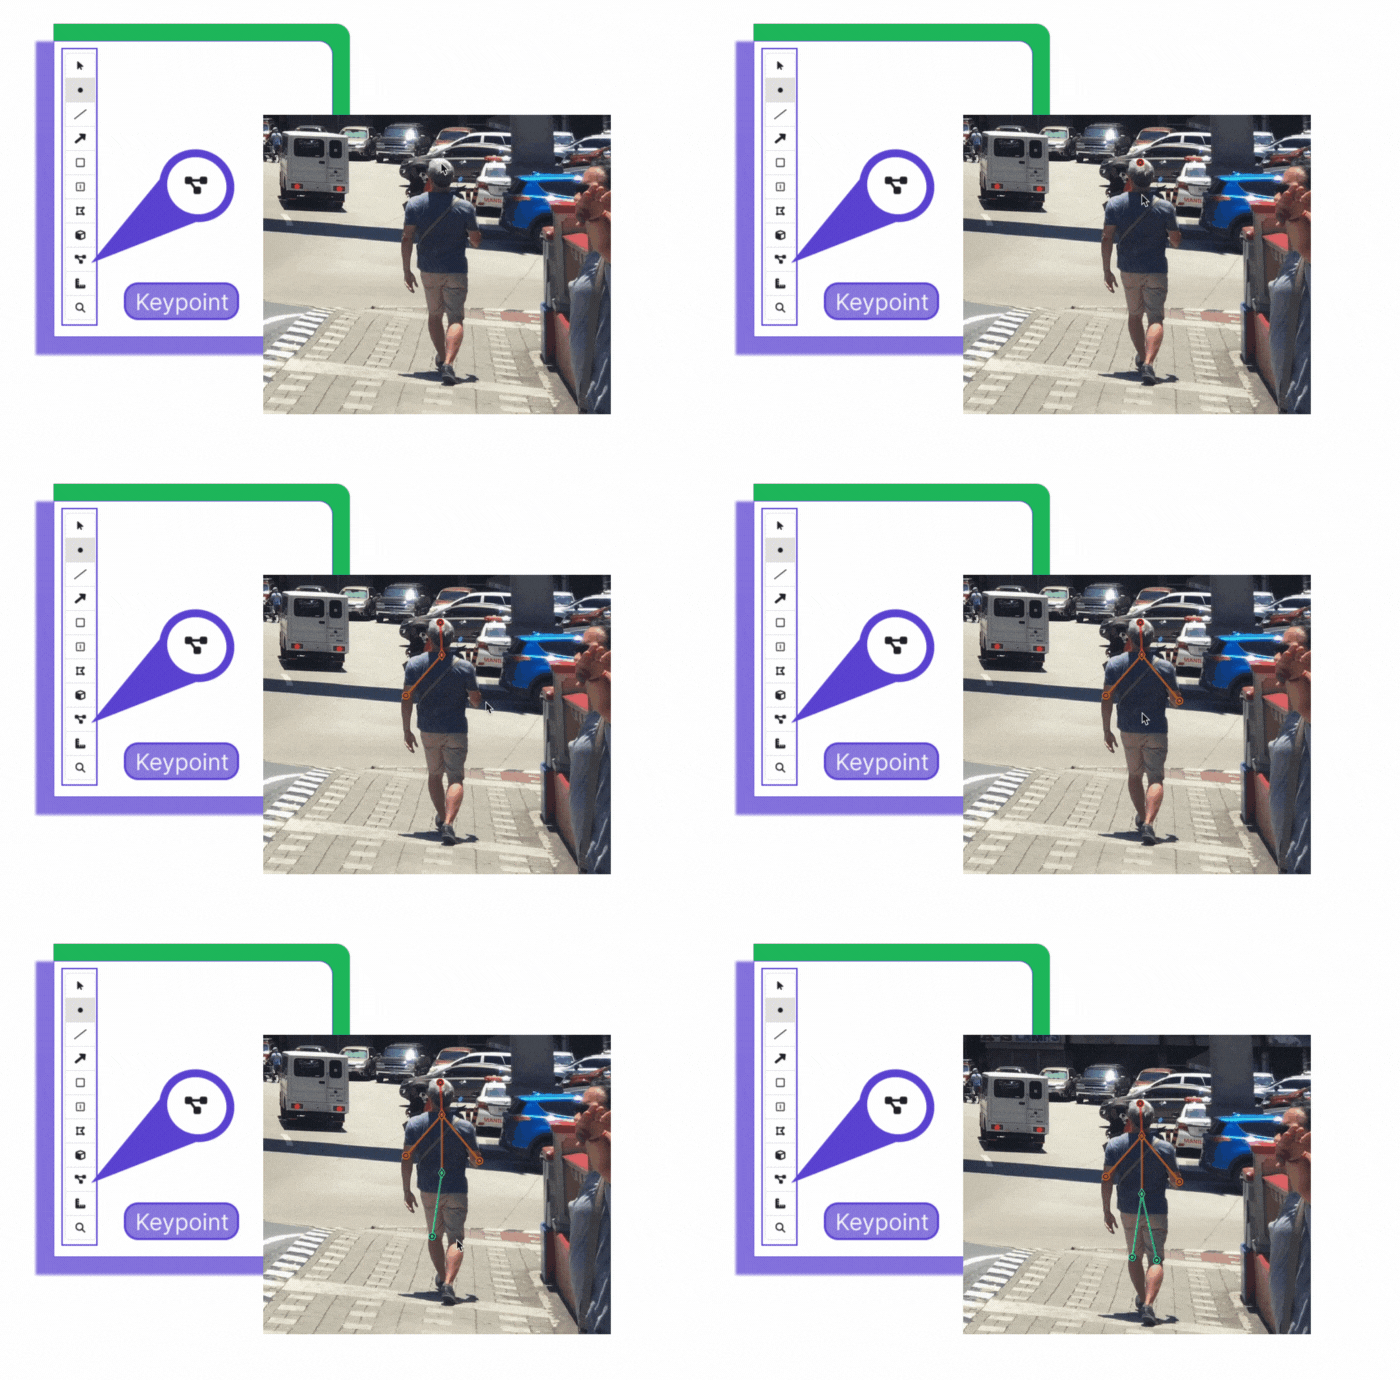
The Keypoint tool is typically used to detect shape variations for motion tracking, facial landmark detection, and hand gesture recognition. Keypoints must be placed in a particular order, following what has been configured in the project settings. For example, it can be set to require that they are placed on the body parts that connect to each other correctly.
For in-depth information about how to set up a project with keypoints, check out our Set up an image annotation project with keypoints tutorial.
To draw keypoints:
- Click to place the first keypoint on its associated body part.
- Continue clicking to place the remaining keypoints on their associated body parts, in the required order. Once you have placed all the necessary keypoints, the Keypoint tool will automatically stop placing points.
