
Setting up Okta on the Sama Platform
Updated at November 8th, 2023
A configured Okta integration will affect the following sections of the Sama Platform:
- User login and profile settings
- User account creation
- User account deactivation
- Teams, Roles, and Organization Memberships are still managed in Sama Platform
Configuring Okta
- Create a new App Integration of type SAML 2.0
- Chose a name of your choice
- Single sign-on URL:
https://login.sama.com/login/callback?connection=<client_name> - Audience URI (SP Entity ID):
urn:auth0:sama-prod:<client_name> - Other fields can be empty/default
- Attribute statements:
email,firstName,middleName,lastName,emailVerified - email,firstName,middleNameandlastNameshould be set to values that come from the user profile. They will ensure that the user info is synced to Sama.middleNameis optional. In our internal integration, the values look likeuser.email,user.firstName,user.middleName,user.lastName, but for you, it might be slightly different depending on how your user profiles are set in Okta.
| ATTRIBUTE STATEMENTS | ||
| Name | Name Format | Value |
| Unspecified | user.email | |
| firstName | Unspecified | user.firstName |
| lastName | Unspecified | user.lastName |
| emailVerified | Unspecified | true |
- Assign users to the newly created application
- After the application is created, go back to the General tab, and click edit on the SAML settings section. At the bottom of step 2, click on Preview the SAML assertion. Make sure the attributes are correctly populated. Below is an XML Example, which contains what the data looks like in Sama's example.

- Provide your Sama Engineer with the following information, obtained from the Sign On tab:
- Sign on URL, which should look similar to
https://<compagny>.okta.com/app/<some-id>/<some-other-id>/sso/saml - SAML signing certificate. The entire file is required by Sama to complete the configuration.
- Sign on URL, which should look similar to
Logging in and managing profiles
Once Okta is configured, the user experience on the Sama Platform will change slightly.
- Users logs in with Okta credentials that is managed by IT.
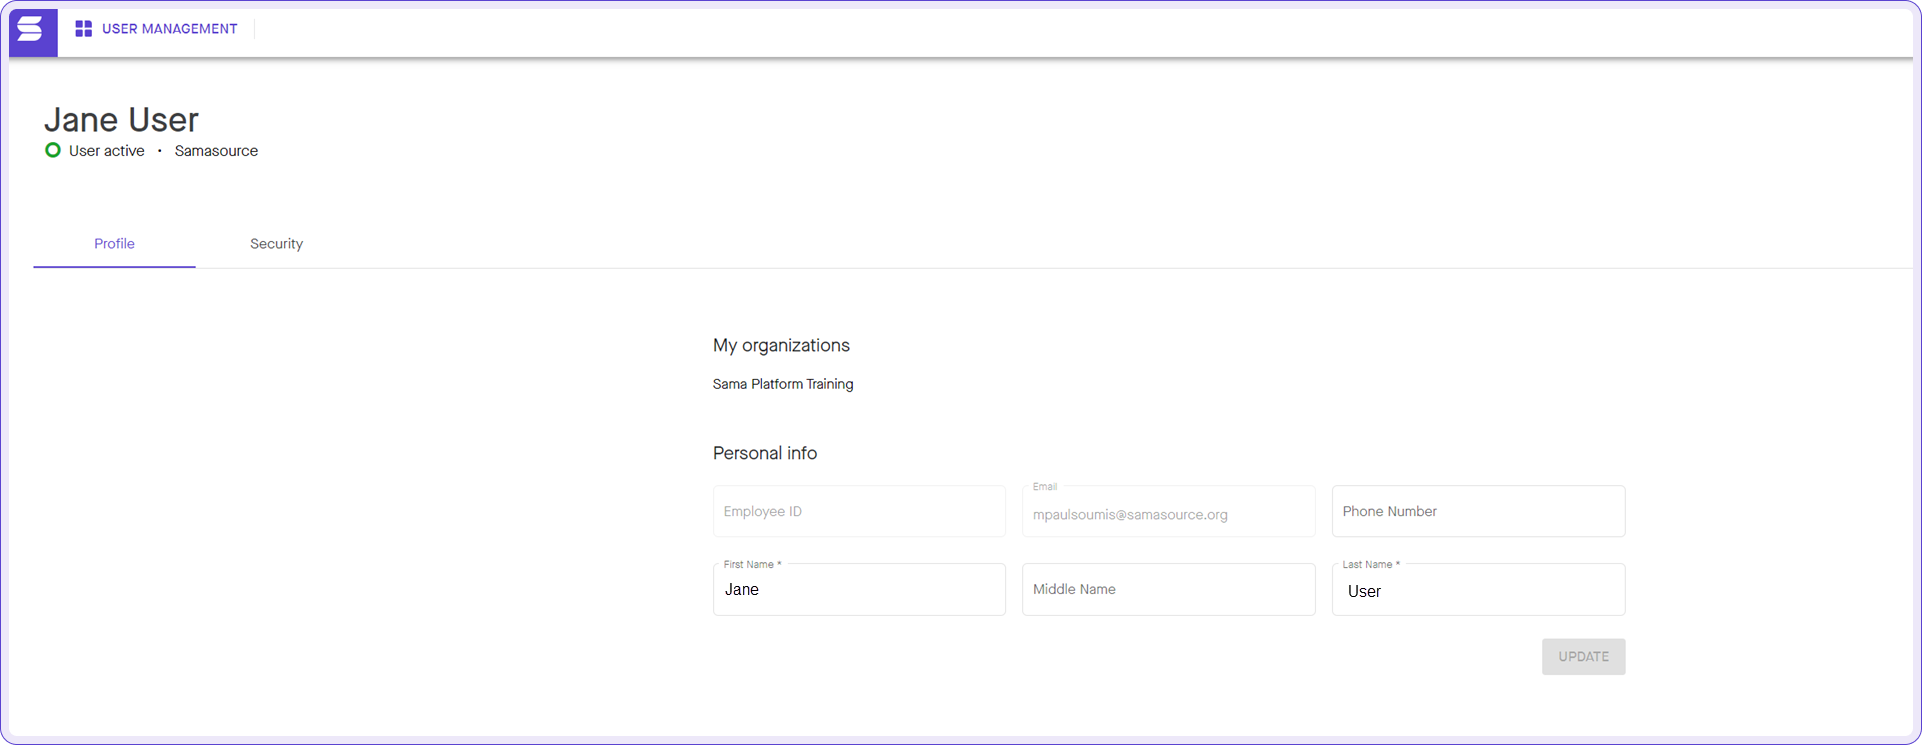
- User's profile info changes is disabled; this is managed by Okta instead.
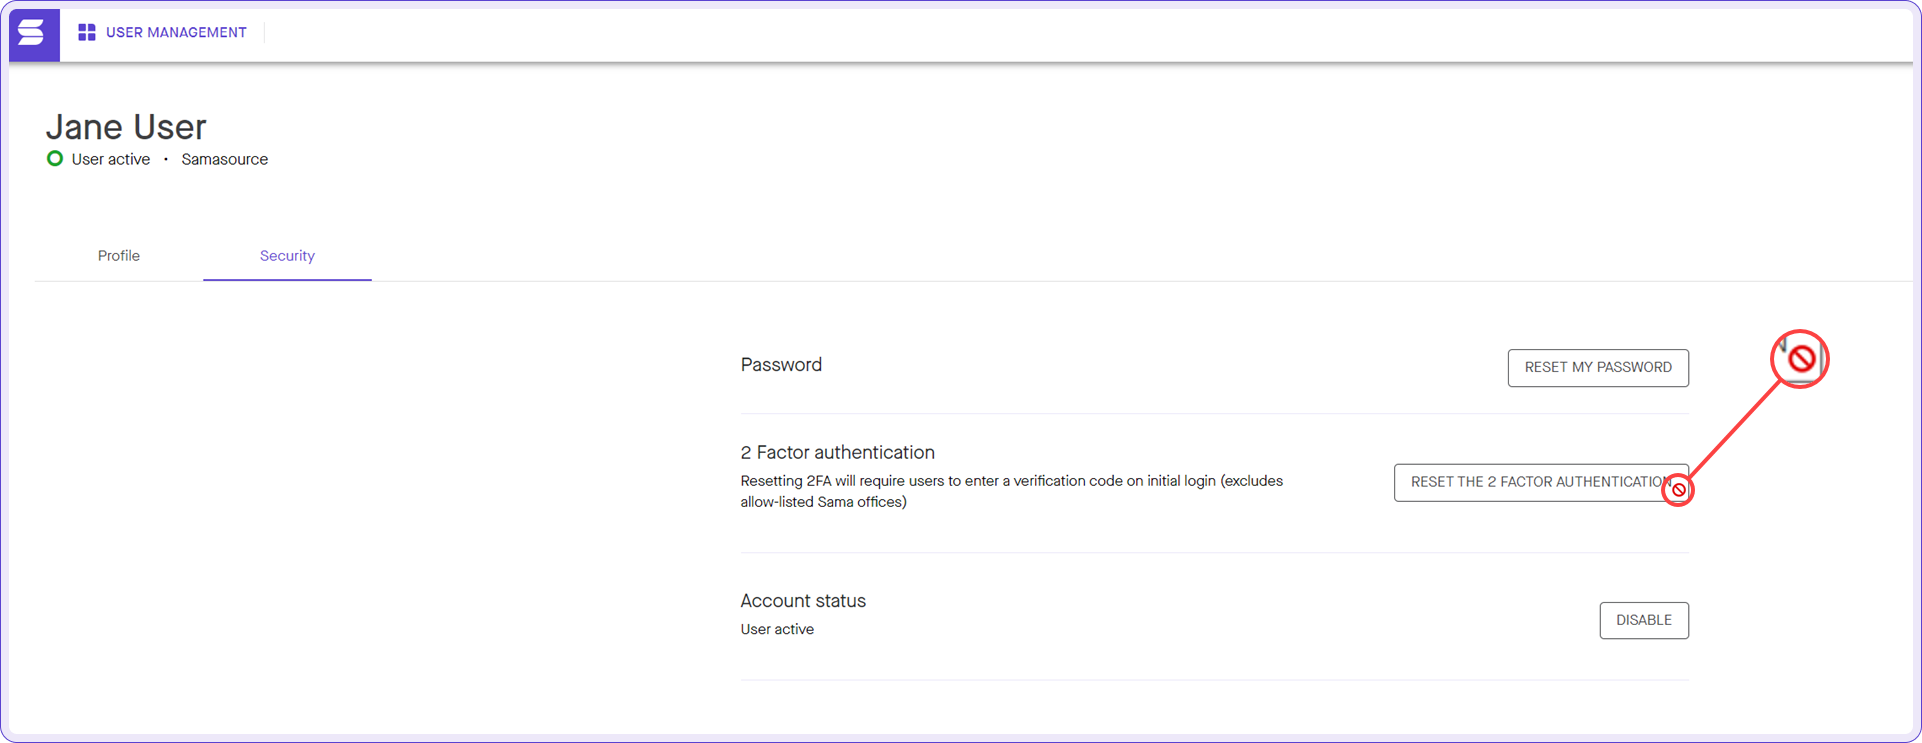
- User account password reset, 2fa, status page is disabled; this is managed by Okta instead.
Creating user accounts
There is no need to manually create internal Sama users in Accounts; they will be automatically created upon first successful login into the Platform.
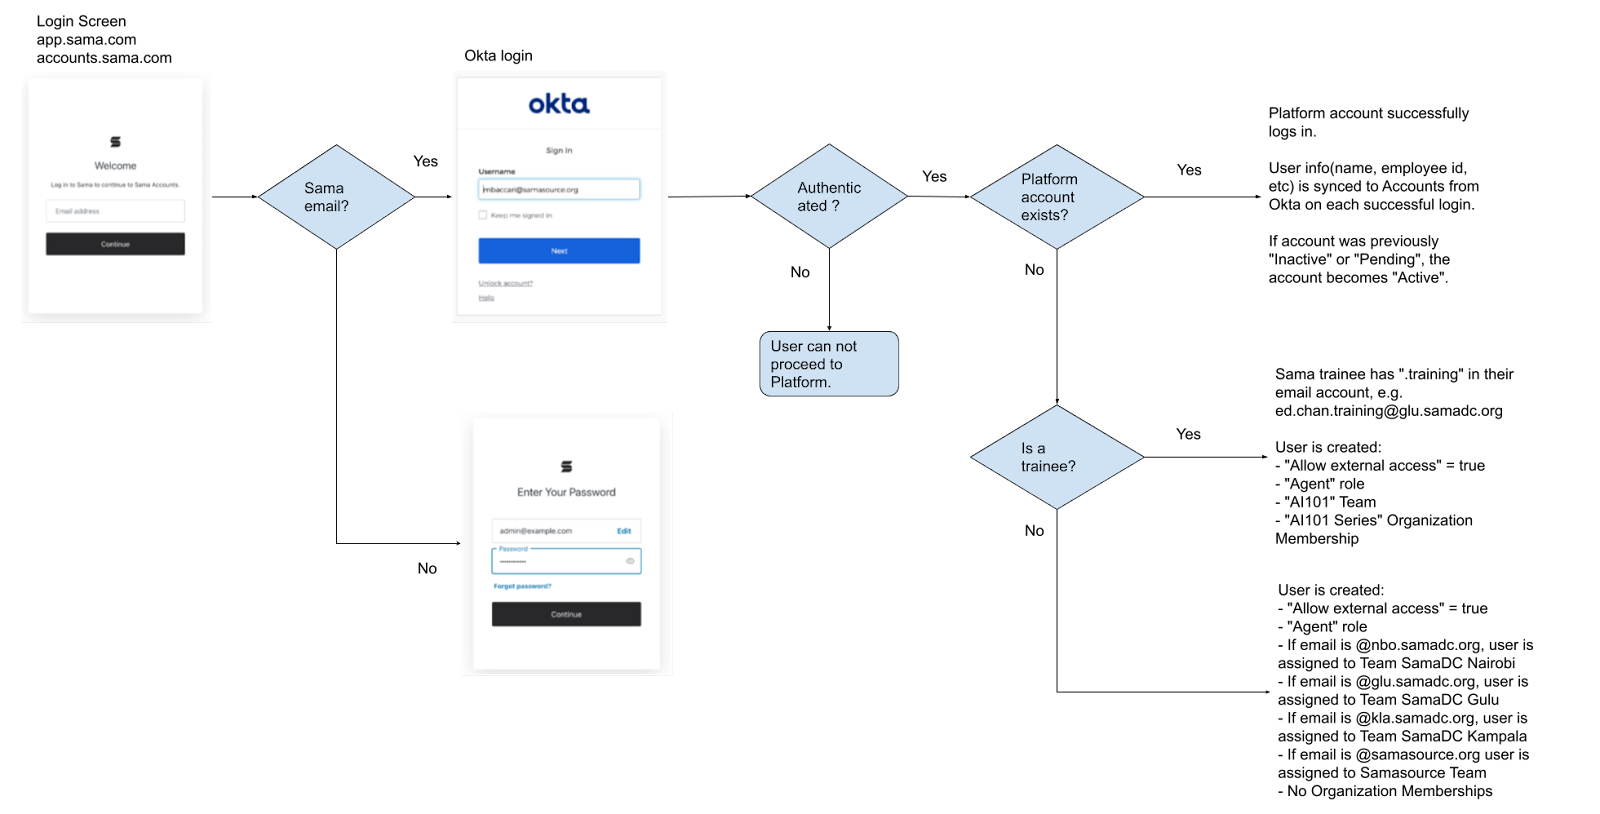
User account deactivation
- By disabling users' Okta access, they will not be able to gain access to the Sama platform. See above diagram.
- There is no need to manually mark a user as "Inactive" in the Sama Platform; it will be automatically changed to "Inactive" after 60 days of inactivity.
Teams, Roles, Organization Memberships are still managed in the Sama Platform
Admins/Org Admins will continue to manage a user's Team, Roles, and Organization memberships in the Sama Platform.
📘 Note
Default values are given upon user creation.

Organization, Organization users, and Teams are still managed in the Sama Platform.